Making Games in Go: 3 Months Without LLMs vs 3 Days With LLMs!
Introduction
After 15 years as a software engineer, I realized I had never actually built and published a game.
Since I grew up in 🇦🇷 Argentina playing card games with my friends, I figured I’d choose one of those. I asked myself:
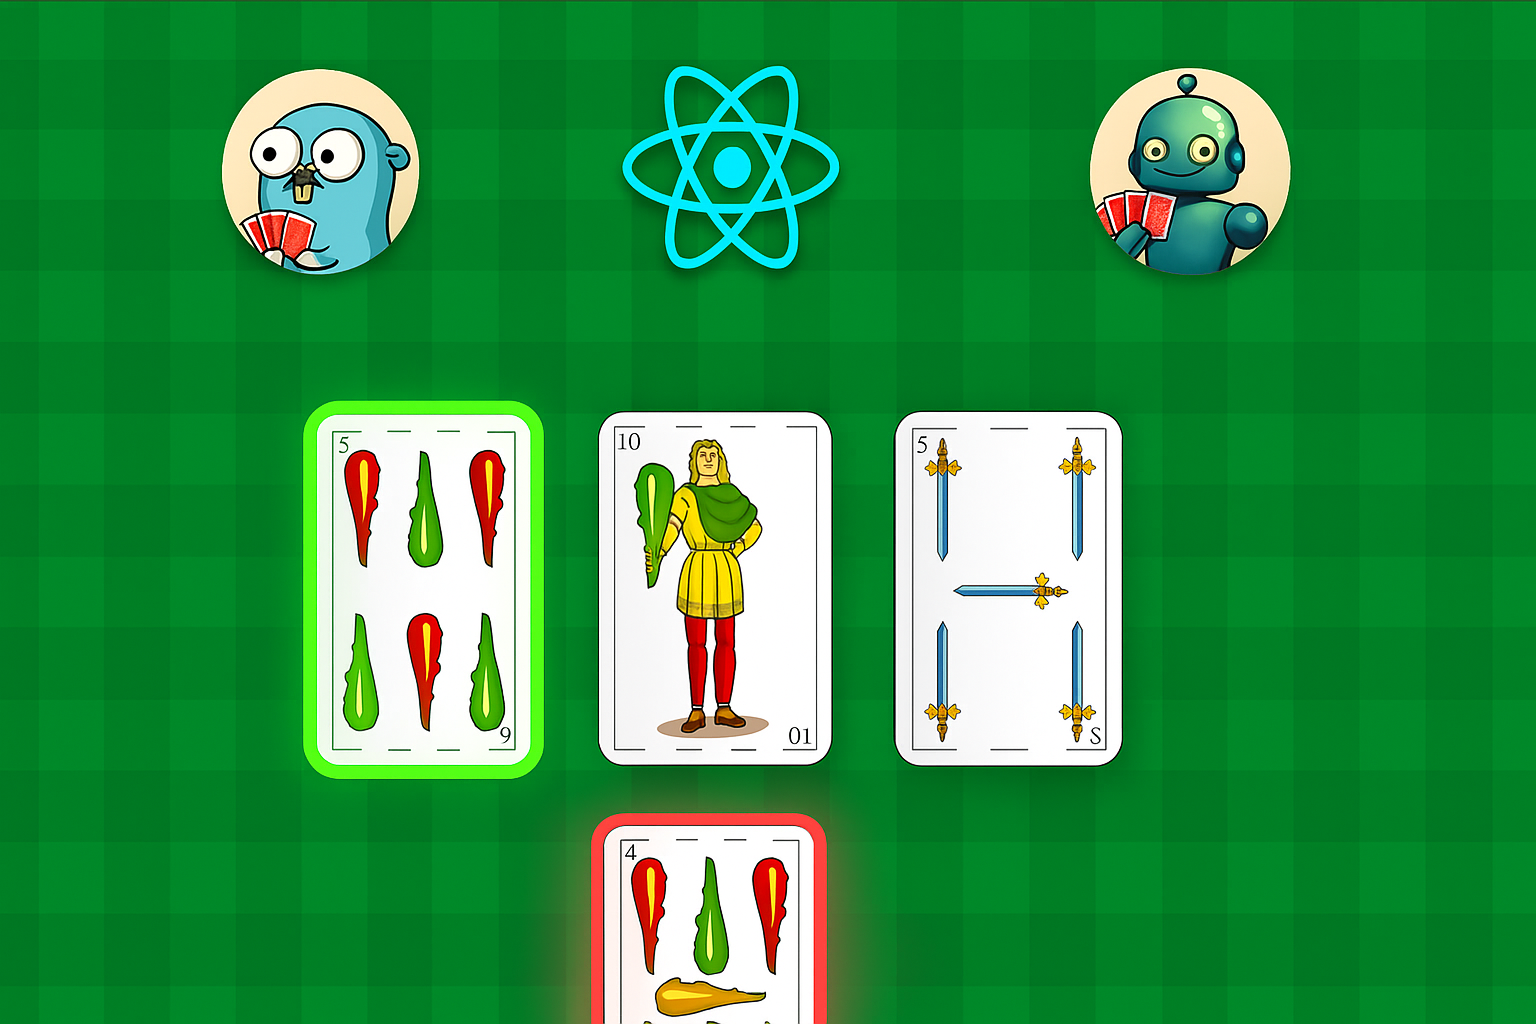
Truco: 3 Months Without LLMs
On June 18th of 2024 I started building Truco in my free time. As a longtime Go backend developer, the backend was obvious. The challenge was the UI and long-term hosting without a paid server.
| Problem | Solution |
|---|---|
| UI | Bit the bullet and learned the minimal required React for the UI. |
| No server | Transpiled the server to WASM using TinyGo. |
| Hosting | Used GitHub Pages to host the static files. |
This was pre-LLM, so every detail had to be figured out by hand. It took about 3 months of trial and error to get it ready.
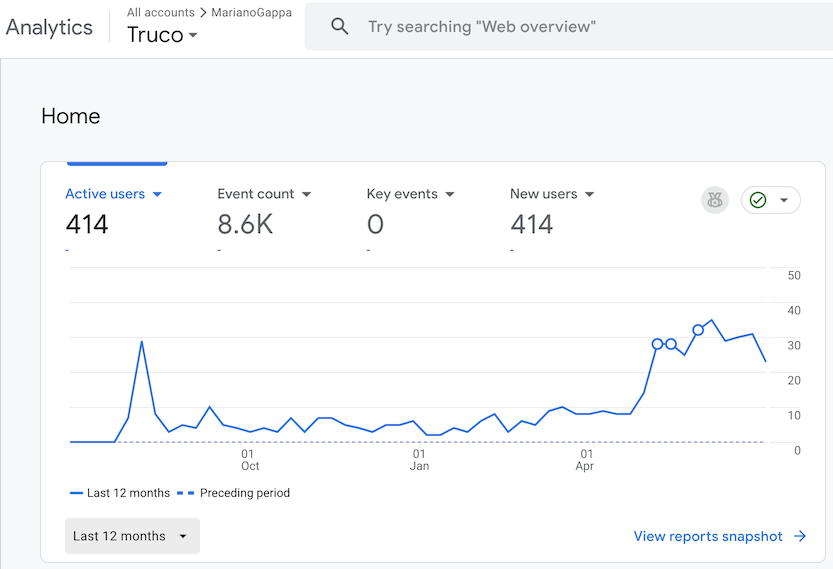
I never planned to advertise or monetize it; I just wanted to finish, and maybe give someone the joy of playing their childhood game again. A year later, without any extra effort on my part, people are still playing it!
In case you want to check it out, here are some links for it:
Frontend in React (don’t judge me 🤷♂️ best I can do with 1-hour React knowledge)
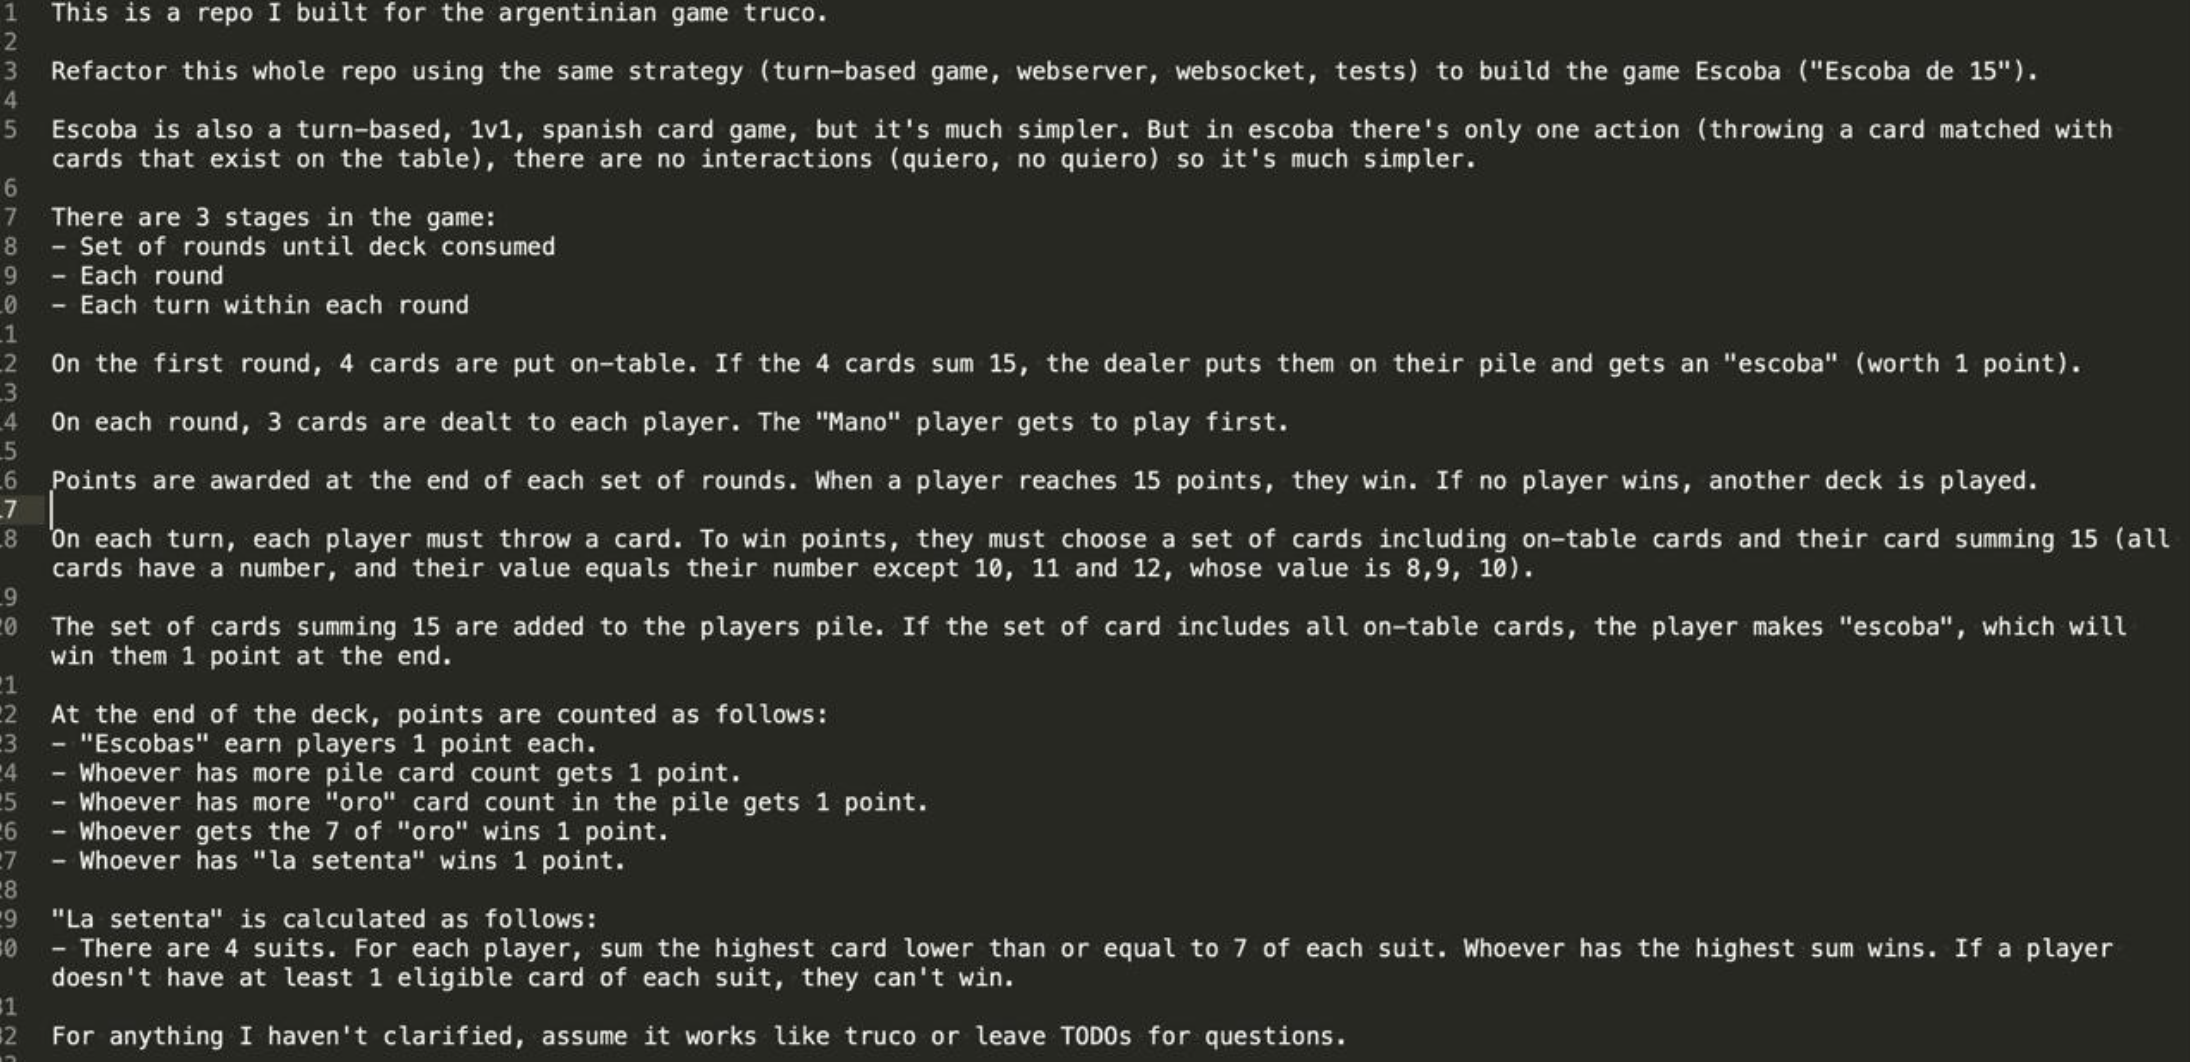
“Escoba”: 3 Days With LLMs
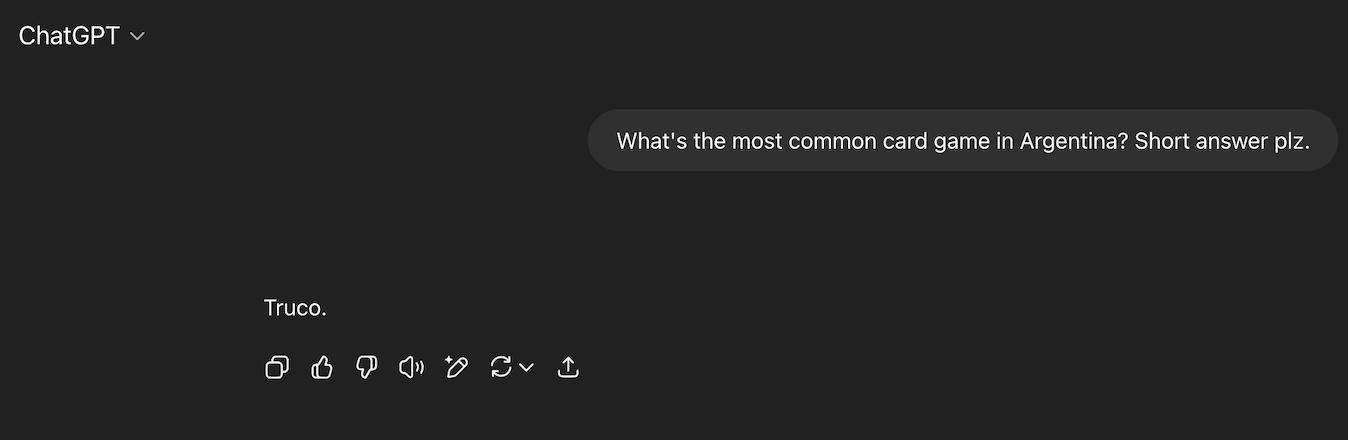
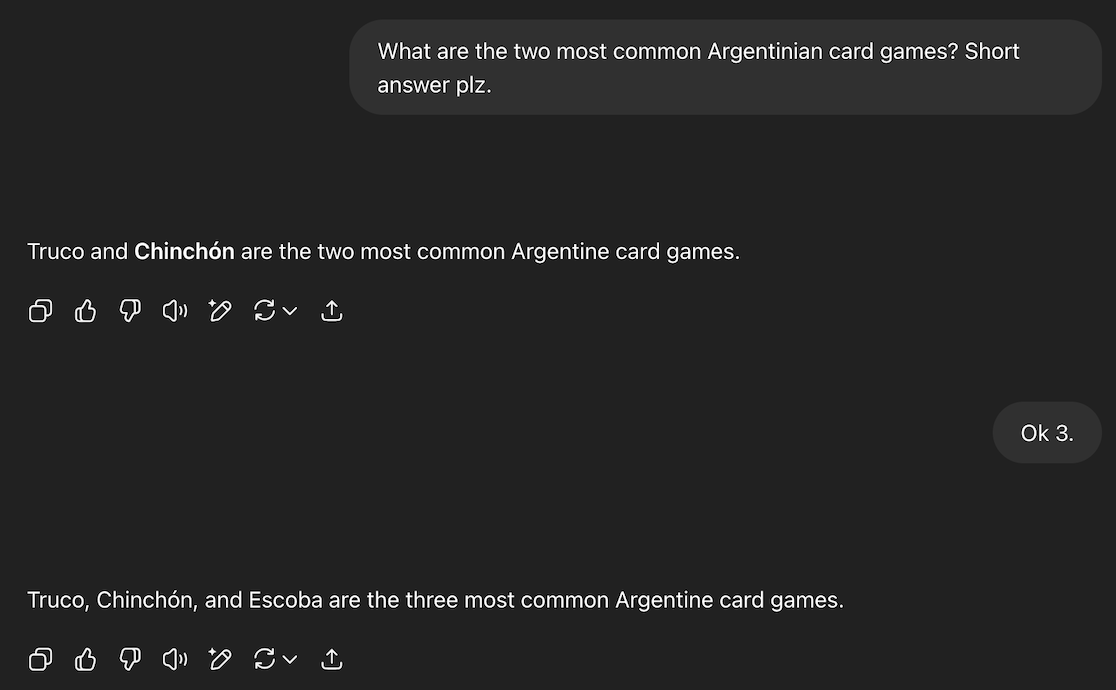
A year later, visiting family in Argentina, I taught my nephew Escoba—the country’s second most popular card game (despite what ChatGPT insists).
With LLMs now mainstream, I wondered how much faster building a game might be—so I decided to test it.
I cloned the backend for Truco and gave Claude a long prompt explaining the rules of Escoba and asking it to refactor the code to implement it. To my surprise, it worked almost perfectly on the first prompt 😱. For a moment I thought: goodbye, job 😰.
The only bug I found was that it used append incorrectly in one place and mutated actions. Except for that, I only added a few bells and whistles on top (like a better bot).
The frontend was a different story; it took me a few days to get it right. The real challenge probably wasn’t just the LLM — it was my own React skills, combined with the unusual setup of letting a black-box WASM function manage game state. Debugging in JavaScript also didn’t make life easier.
In case you want to check it out, here are some links for it:
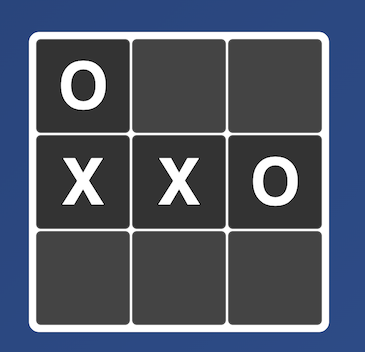
Step-by-Step: How to Build Your Own Game
I’m assuming you might have come here to see if it’s not too hard to give it a try yourself! So I’ll give you the minimalistic primer to make your own game with this stack.
I wrote a minimalistic Tic-Tac-Toe game set of repos so you can fork them to get started:
https://github.com/marianogappa/tictactoe-backend https://github.com/marianogappa/tictactoe-frontend
You can check it out here:
https://marianogappa.github.io/tictactoe-frontend/
Backend-side
A turn-based backend is straightforward to outline:
- Initialize a GameState struct (e.g. initial board setup, empty actions list).
- Implement
CalculatePossibleActions, so clients know what’s valid. - Add RunAction to mutate the GameState.
- If there’s a bot, write a function to pick an action from the current state.
That’s it!
Note: forget human vs human, unless you’re willing to pay for that server.
Frontend-side
I’m no frontend expert, but the tasks are simple:
- Call the backend to create a new
GameState. - Render it in the UI.
- Let the player pick an action from the valid options.
- Call the backend to apply the action.
- Trigger the bot’s action when it’s their turn.
That’s it!
Backend-side interop
To transpile the backend to WASM, you can build with (docs here):
GOARCH=wasm GOOS=js go build -o main.wasm main.go
But that produces huge binaries (which is slow on mobile). Use TinyGo for smaller ones.
Before compiling, you need a different entrypoint to the functions that you’re going to make available to the frontend. Make a different main.go file that exports the functions that you need, and guard it via build flags:
//go:build tinygo
// +build tinygo

package main

[...]

func main() {
	js.Global().Set("trucoNew", js.FuncOf(trucoNew))
	js.Global().Set("trucoRunAction", js.FuncOf(trucoRunAction))
	js.Global().Set("trucoBotRunAction", js.FuncOf(trucoBotRunAction))
	select {}
}

var (
	state *truco.GameState // "Global variable" for the GameState
	bot   truco.Bot
)
Don’t forget to block at the end of main() with select {} to prevent the program from exiting immediately.
Backend data interop
GameState is typically a free-form struct that you define in Go. WASM can’t directly serialize/deserialize structs. The trick is to pass everything as JSON. After digging through TinyGo docs, here’s the formula:
func trucoRunAction(this js.Value, p []js.Value) interface{} { // Always this signature
	// Read the input JSON
    jsonBytes := make([]byte, p[0].Length())
	js.CopyBytesToGo(jsonBytes, p[0])

	// 1. Decode the input JSON to your struct
    // 2. Run your Go code, return an output struct
	// 3. Encode the output struct to JSON
	newBytes := _runAction(jsonBytes)

	// Return the output JSON
	buffer := js.Global().Get("Uint8Array").New(len(newBytes))
	js.CopyBytesToJS(buffer, newBytes)
	return buffer
}
Frontend-side interop
Finally, call the backend functions from the frontend and [track the GameState in a global variable]((https://github.com/marianogappa/truco-argentino/blob/main/src/gameState.js#L19):
function jsRunAction(data) {
    const encoder = new TextEncoder();
    const encodedData = encoder.encode(JSON.stringify(data));
    const result = trucoRunAction(encodedData);
    const json = new TextDecoder().decode(result);
    return JSON.parse(json);
}

let gameState = jsNewGame();

// Note that RunAction doesn't take a GameState.
// WASM is the source of truth; your frontend can't mutate it.
gameState = jsRunAction(action);
Every time you modify the backend, you need to recompile it to WASM and replace the old file in the frontend. I put this in the Makefile:
compile_library:
	cd $(GOPATH)/src/github.com/marianogappa/escoba && \
	TINYGOROOT=/usr/local/Cellar/tinygo/0.38.0 tinygo build -o main.wasm -target wasm main_wasm.go && \
	mv main.wasm $(CURDIR)/public/wasm/wasm.wasm && \
	cp /usr/local/Cellar/tinygo/0.38.0/targets/wasm_exec.js $(CURDIR)/public/wasm/wasm_exec.js && \
	cd -
Note that I’m also copying over wasm_exec.js. This is a requirement for running WASM code. The other requirement is to add the script tag to the HEAD of the HTML file:
    <script src="wasm/wasm_exec.js"></script>
	<script>
        const go = new Go(); // Defined in wasm_exec.js
        const WASM_URL = 'wasm/wasm.wasm';

        var wasm;
        let wasmReady = false;

        if ('instantiateStreaming' in WebAssembly) {
            WebAssembly.instantiateStreaming(fetch(WASM_URL), go.importObject).then(function (obj) {
                wasm = obj.instance;
                go.run(wasm);
                wasmReady = true;
            })
        } else {
            fetch(WASM_URL).then(resp =>
                resp.arrayBuffer()
            ).then(bytes =>
                WebAssembly.instantiate(bytes, go.importObject).then(function (obj) {
                    wasm = obj.instance;
                    go.run(wasm);
                    wasmReady = true;
                })
            )
        }
    </script>
Troubleshooting
The WASM file is not loading
This works automatically in Github Pages, but locally, you need to serve the files over HTTP. You can use http-server for this:
npx http-server ./public -p 8080
And then visit http://localhost:8080 in your browser.
Conclusion
I had a lot of fun making these games and I hope you find it interesting to see how it works. I also hope you find it useful to make your own games! If you have questions, I’m not hard to find.
